<< Back Pie Season!

Mark's birthday fell on Labor Day this year and we had friends in town for the long weekend. Saturday was one of those beautiful later summer days and apples were already out at a couple of the Ann Arbor Farmer's Market stalls. So naturally I bought a 25 lb bag. The last of the raspberries were also available, so I bought a quart, deciding then and there to bake Mark an apple/raspberry pie for his birthday.
Little secret. I dislike raspberries. I know I know. I like them okay to just pop in my mouth and I like raspberry soy or coconut yogurt, but I pretty much loathe them in everything else. SO I decided to bake TWO pies: plain apple (read: for me) and the other one for him. Our friends seemed to generally open to eating a bunch of pie, whatever the filling.
Another little secret. This was my first time baking pie. Ever. Though I have made a mean tofu quiche, so I decided to use that recipe for the crusts. Here's what I did for the whole project...
Apple Pie and/or Raspberry-Apple Pie
- About nine small apples, cut into slivers (use slightly less, maybe 6 for the AR pie)
- 1/3 cup orange juice
- 1/3 cup granulated sugar
- 1/2 tsp cinnamon
- pie crust (I followed this recipe we use for quiche crust) and it worked great
- 1 quart fresh raspberries, if using
Start out by making the pie crust and let it chill in pie plate in the fridge while you prepare the other ingredients. One note: for two pies I tripled the crust recipe, one whole recipe for each pie and then half a recipe each to roll out for the tops of the pies.
Preheat your oven to 400 degrees Fahrenheit. To make a simple filling that requires no apple peeling or pre-cooking, mix apples (and raspberries if using), OJ, sugar and cinnamon in a large bowl. Allow to sit for a few minutes so the flavors can combine.
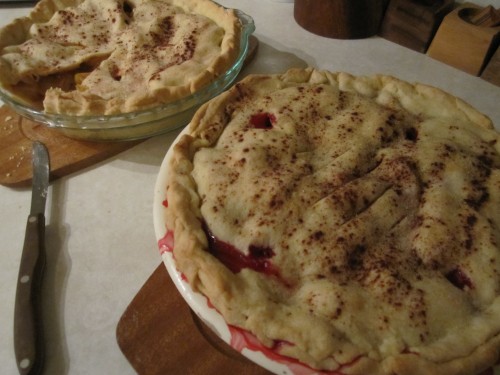
Taking the pie crust from the fridge, spoon the filling into the crust. Roll out half a crust recipe onto a sheet of wax paper or rolling mat, and carefully overturn thinly rolled crust onto the top of the pie. Tearing off any excess crust (this is fun to roll into little balls and bake with your pie), pinch the edges of the top crust onto the sides of the bottom crust, sealing up the pie. Cut little slits in pretty or amusing patterns in the top crust with a floured sharp knife so that the juices can escape if necessary. Dust the top with cinnamon and sugar for good measure.
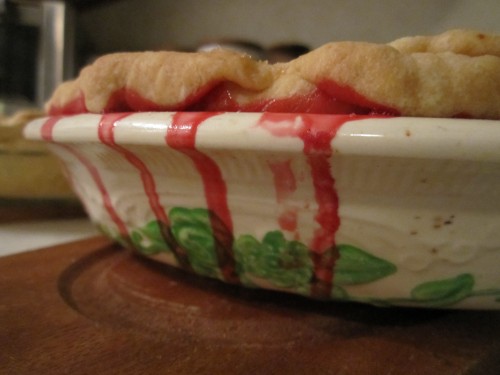
I set the pie plate on a cookie sheet lest the pie drool all over the oven (which the raspberry pie decided to do--see photo above). Bake the pie for thirty minutes, then turn the heat down to 375 and bake for about 15-20 more minutes or until the crust is golden brown and crisp-looking. Once cool(ish), enjoy with birthday boys and friends!
OK!
So what's next? This:

So after that adventure into pie semi-success (I thought the pie with raspberries was offensive, but everyone else really liked it), I still had more than half of the 25 lb. bag of apples left. So another beautiful Saturday about two weeks later, I decided that baking little personal pies would be just the thing. Mark, having fond memories of eating Hostess (tm) pies as a kid, was in full support.
I decided to try out a different recipe for the crust, more of a flaky, pastry approach. I adapted this recipe from the Purple Foodie. Not a veg blog, but the recipes look great and are very adaptable and her photos are gorgeous! I substituted Earth Balance (tm) for butter and a tablespoon of applesauce for each egg. I tripled the recipe for the amount of apples I had: approximately 20-25 smalls.
For a change, I also decided to peel the apples. Mark and I used a counter top apple peeler with mixed success. This gadget is great if your apples are large and firm, but ours were little and had turned over to the mealy side, SO it was quite messy and not the prettiest process in the world. But it made apple chopping easy since in addition to peeling, it also cores and cuts them into spirals. A few slices of the knife and they were in appropriate-sized pieces.
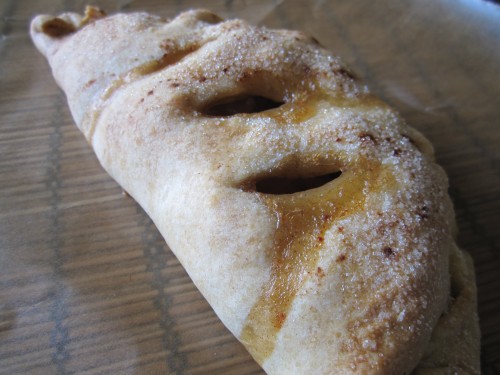
I used the same filling recipe as before, rolling out the dough into roughly the size of a dessert-plate (6-8 inches) and dolloping a generous amount of filling into the middle of each one. I folded, cinched edges, cut slits and performed the requisite cinnamon sugar dusting and popped trays of about five mini pies each into the oven for about 40 minutes or so per cycle.
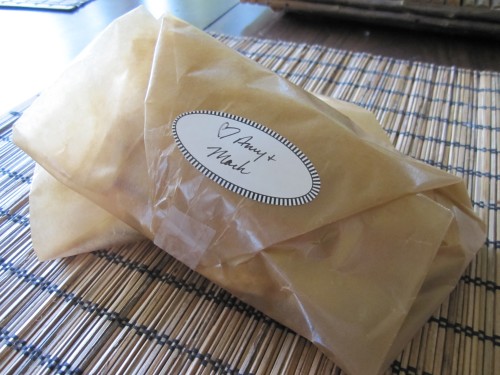
Once Mark and I had stuffed ourselves with pie (YUM!) I panicked and wondered what we would do with the other dozen or so mini pies we had leftover. Since it was a gorgeous day (and we had just consumed a ridiculous amount of calories) I got the zany idea to wrap up the rest of the cooled pies in wax paper and deliver them to friends all over town by bike. We had a ball riding around town and leaving pies on front and back porches for friends. Naturally we let them know they were there so no racoons got an undue treat that evening.

If you ever find yourself with 18 lb. of apples on a sunny Saturday afternoon, I highly recommend following suit.

